Baking your own vegan bread is fun and satisfying. If you follow my steps carefully, I’m sure you can create some really good and delicious bread.
You might think that making bread from scratch is difficult to or that you need a lot of baking experience for it to turn out well.
Making good bread isn’t hard but there are a lot of ways it can go wrong. Maybe you’ve tried baking bread from scratch in the past and it didn’t turn out right at all, or maybe this is your first time ever baking.
The more you practice making bread, the more you’ll understand the process, and you’ll improve your results quickly.
My Bread Baking Tips
I recommend that with each batch of bread you bake, take notes on it. Write down what you did differently, or anything about your final bread that you like or don’t like.
I’ve been working on improving my bread baking for the last ten years that I’ve been married, and for a few years before that as well. Mostly I’ve worked on creating Finnish-style rye bread which is supposed to turn out hard, flat, and quite sour tasting. A pretty different animal from the fluffy white bread I grew up eating!
Now I think I’ve got my bread-making technique down just right. So I decided to share exactly what my process is like, from choosing ingredients to mixing the dough to baking the final loaf.
Mom Tip: Let The Kids Help!
If you have kitchen helpers a.k.a. kids, you can give them some dough to play with (once you get to step 3). They’ll have fun shaping their own little loafs, leaving you free to focus on the crucial final steps of the baking process. My kids loved it when I demonstrated some simple shapes they could make with their dough like ball shaped, snake shaped, pretzel, etc.
Basic Bread-Making Ingredients
To get started making a basic bread from scratch we’re going to need a few ingredients. Using good-quality, fresh ingredients makes a big difference when baking. This is what I use:
- Flour (I prefer to use a high-gluten flour for white bread. All-purpose flour does work but it doesn’t yield quite as fluffy of bread as the high-gluten flour.)
- Water
- Sugar
- Instant yeast (I use Red Star or SAF)
- Kosher salt
Optional Bread Ingredients
If you want to improve the crust of your bread, you can add a little “glaze” to it prior to baking by mixing a plant based milk and melted vegan butter.
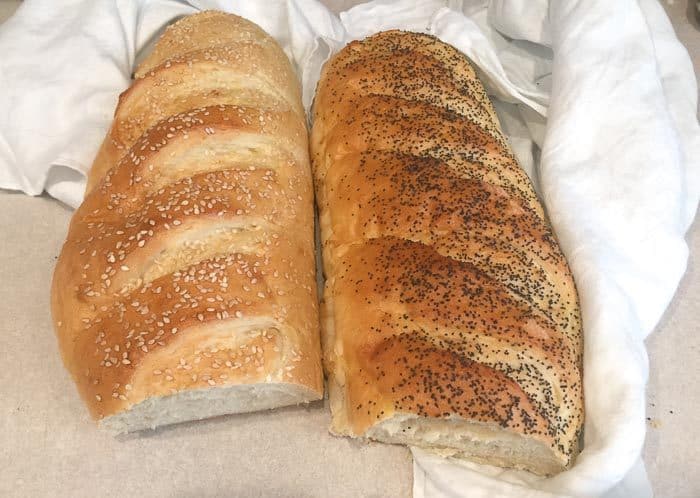
You can also sprinkle on some seed toppings such as sesame seeds or poppy seeds. Oats, cornmeal, sunflower and kosher salt also make good toppings for the crust.
Use your personal taste and creativity to make it however you like! My family seems to like sesame seeds the most.
Equipment Needed To Bake Bread
The most basic things you’ll want to use in order to make bread from scratch are a large bowl to mix the dough in, and some kind of pan or baking sheet that you can put in the oven.
I usually bake my bread on a sheet of parchment paper. It helps prevent the bottom crust from sticking or burning, and makes cleanup easy-peasy. You can re-use parchment papers many times for baking bread. Just fold them back up and keep them in a drawer until you’re ready to make more bread.
I use a whisk to mix my water and yeast, but a fork works fine as well.
A rubber scraper or spatula is useful for scraping the sides of the mixing bowl. I often use a plastic rice paddle to mix and scrape my bread dough, since the plastic is hard and strong and won’t break or pull apart in the thick bread dough.
If you have a stand-mixer like a Kitchen Aid, you can use that to mix your dough too. However, I prefer using just my hands (and a rice paddle or spatula to scrape). I’m kind of a minimalist when it comes to bread baking so I try to use my hands as much as possible!
The Basic Bread Recipe
You can follow this recipe to make a basic white bread that’s done in less than 2 hours. The recipe will yield enough dough for two large loafs of bread or 3 medium loafs. If you don’t want to use all the dough at once, you can place the extra dough in a freezer-safe container and save it for another day.
You can also use this bread recipe to make things like hoagie buns, hotdog buns, hamburger buns, and even cinnamon rolls!
Step One: Mixing Yeast With Water
In your large bowl, add in 2 tablespoons of instant yeast and 2 tablespoons of sugar with 1/2 cup of warm water. It’s important that the water is very warm but NOT hot. If the water is too hot, it’ll kill the yeast, and the bread won’t turn out.
A good rule of thumb that I use when trying to determine the water temperature is to think about giving a baby a bath. Warm enough, but NOT hot!

Stir up the yeast and sugar in the water until it’s almost all dissolved. Then let it rest for about ten minutes. You’ll see foamy bubbles on the surface when it’s ready for the next step.
Step 2: Add In The Rest Of The Ingredients
After you’ve let the yeast, sugar and water rest for about ten minutes, add in all the other ingredients:
- 2 more cups of warm water
- 2 tablespoons of melted vegan butter
- 2 teaspoons of salt
- 7 cups of flour
You can use your hands or a stand mixer to combine all the ingredients. You don’t need to do any kneading at this point – simply mix everything together until the dough looks consistent. There shouldn’t be any dry clumps or extra water at the edge of the bowl.
Your dough at this stage may look fairly sticky. This is normal! There’s no need to keep adding flour.
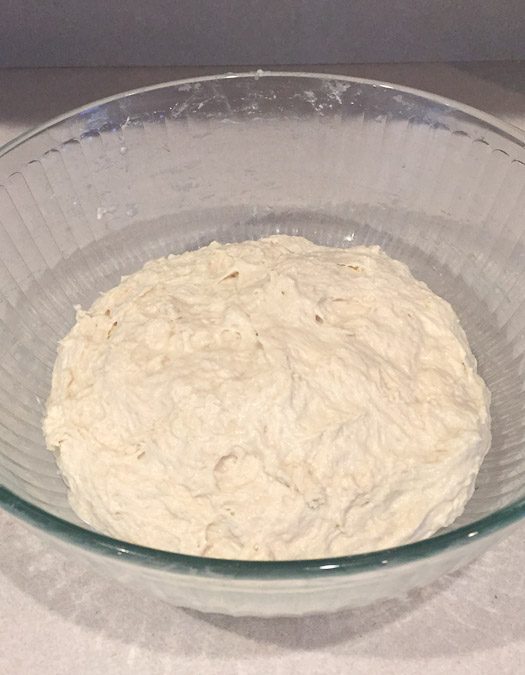
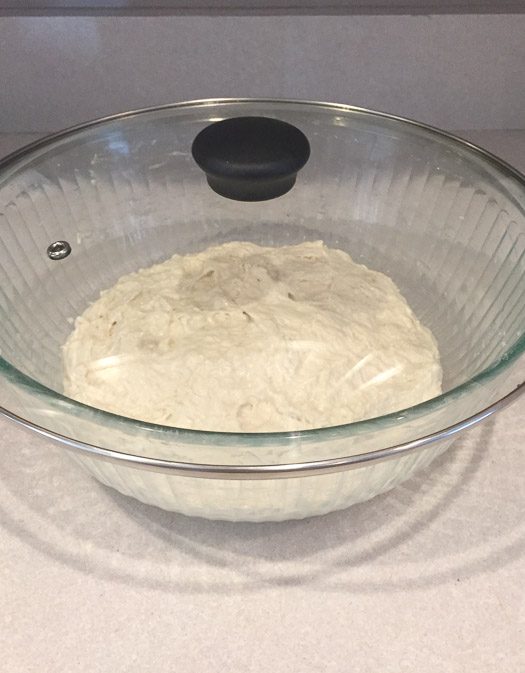
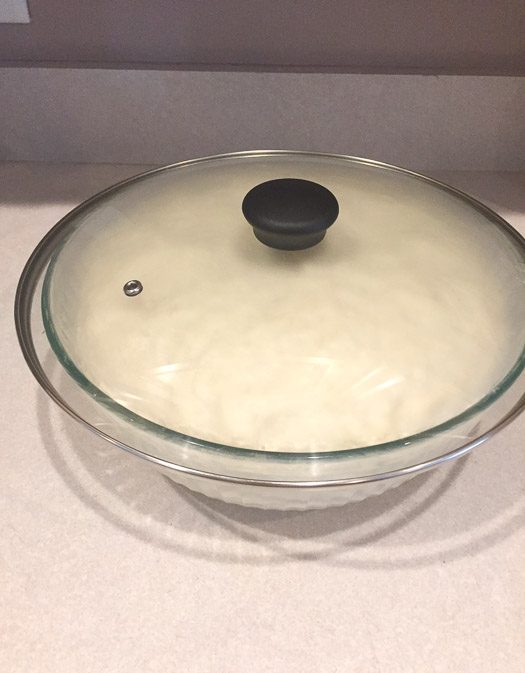
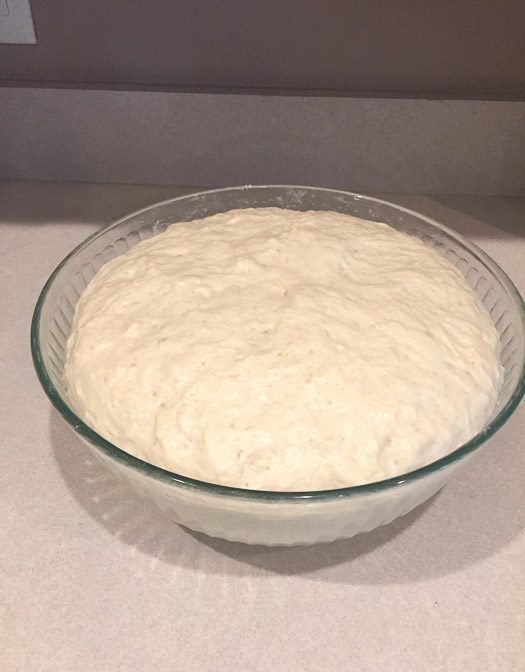
Cover up the bowl and let the dough rest on the counter until it has doubled in size. This can take anywhere from 15 to 45 minutes, depending on how warm and humid it is in your kitchen, and how fresh your yeast is.
It can be helpful to take a before picture before you let it rest so you have something to refer to later when checking the dough.
Don’t rush! Just let it rise. If it doesn’t rise, you might have bad (old) yeast.
Step 3: Punching, kneading, shaping, and scoring the dough
After the dough doubles, you can punch it down to help release some of the excess gas that’s built-up as a result of the yeast eating the flour and sugar. The dough at this point should be smelling quite appetizing!
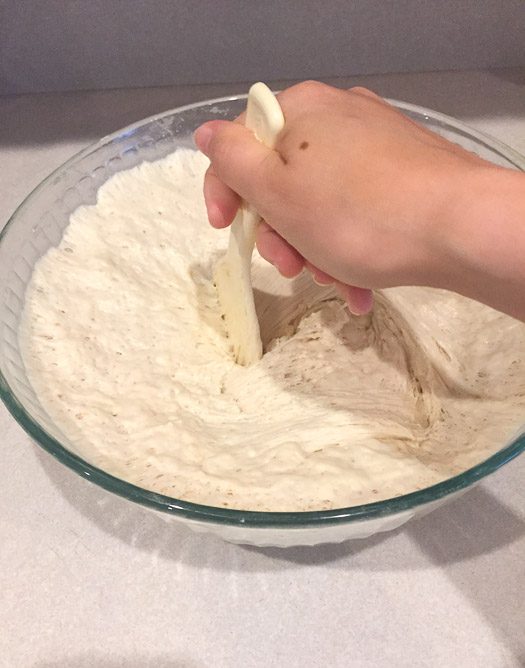
Kneading
If you’re using a stand mixer, you can just mix your dough on a slow speed for about 5-10 minutes.
To knead by hand, you’ll need a clean area on your counter that’s nice and large to work with. About 2-3 feet of counter space is ideal.
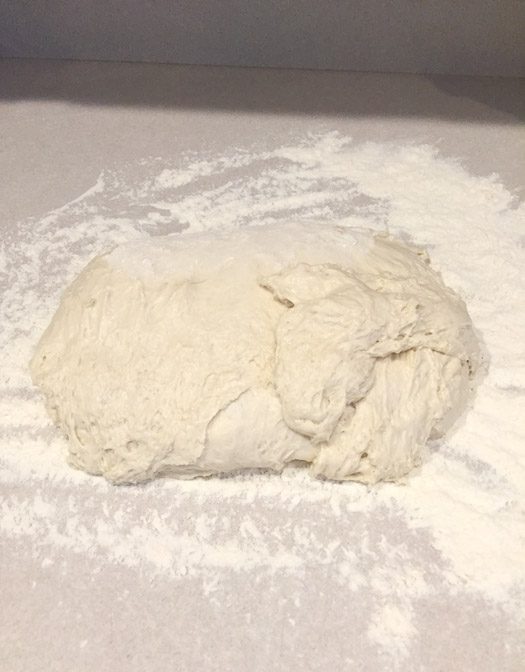
Sprinkle a generous amount of flour onto the counter and turn out the dough from the bowl onto the counter. You can sprinkle a little bit more flour onto the wet surface of the dough to make it easier to work with.
Now, with floured hands, push into the dough as if you’re pushing it away, and fold it back on itself. Repeat this process for a few minutes until the dough feels smooth and springy. You can add in a bit more flour if it becomes too sticky.
The purpose of this kneading is to help develop and lengthen the gluten strands in the dough. This ultimately gives the final bread an airier structure that’s nicely chewy.
For this recipe, you don’t need to stand there and knead the dough for 30 minutes. If you do this, your bread will end up too tough and too chewy. I usually knead my bread for about 5 minutes by hand.
Shaping
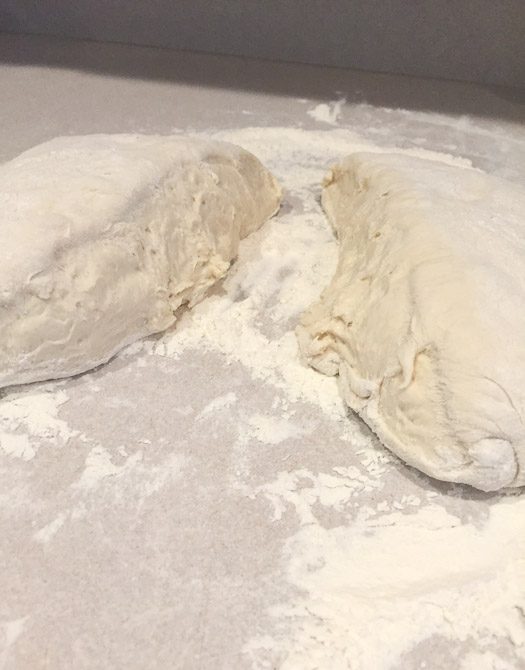
After you’ve kneaded the dough for a bit, divide it in half. You can also divide it into thirds if you want to make three loafs.
I used my rice paddle to cut this dough but you can use any knife.
If you want to only make one loaf of bread now, you can place the other portion of dough in a freezer-safe container and freeze it immediately. You’ll need to knead it again after thawing and then continue with the next steps.
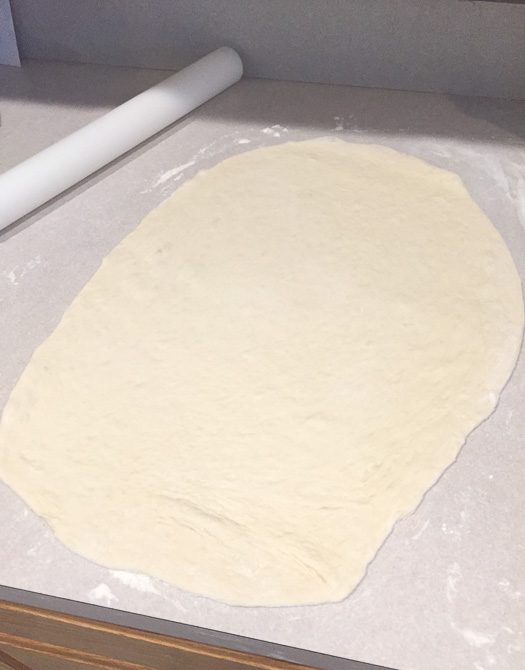
Take one portion of your divided dough and roll it pancake-flat. It’s just like rolling out a pizza crust. You should try to keep the shape somewhat rectangular at this point as it’ll make the final shape of the bread loaf more straight-sided as well
Next, roll up the short side of the dough tightly, all the way to the other side. You can seal up the end by putting a little bit of water on it. Tuck the ends under the bottom of the roll, too.
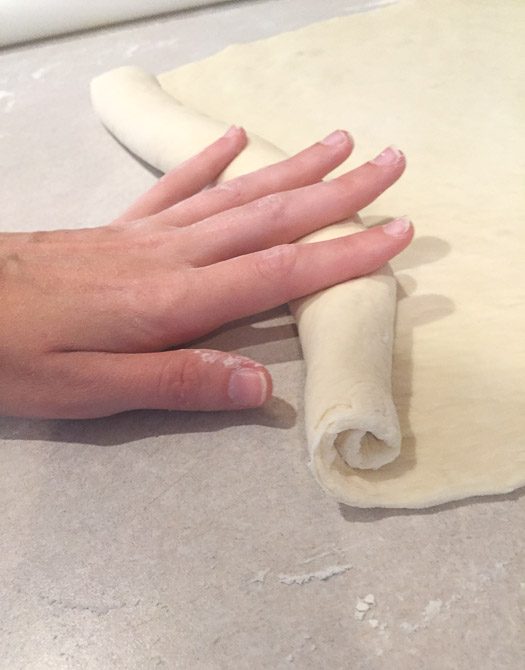
Once it’s rolled up, place it on a parchment-lined baking sheet. Make sure the open edge is tucked under the bottom of the roll.
Scoring
Scoring the bread involves slicing into the top surface layers of dough. It’s totally optional, but it helps give your dough more room to expand upwards (as opposed to outwards) during baking.
If you don’t score bread, sometimes the crust will be hard already but the moist, inner dough is still expanding, causing it to burst through the crust in random places. So scoring is a way to help control the expansion of the inner dough in a way that also looks more uniform and pleasing to the eye.
In order to score dough, you’ll need to have a flat razor blade. They make special scoring blades specifically for scoring bread dough, but I just use cheap single-sided razors. They usually cost less than $1 a pack in hardware stores.
Just make sure that the razor you use is very clean and sharp. If it’s dirty, don’t use it.
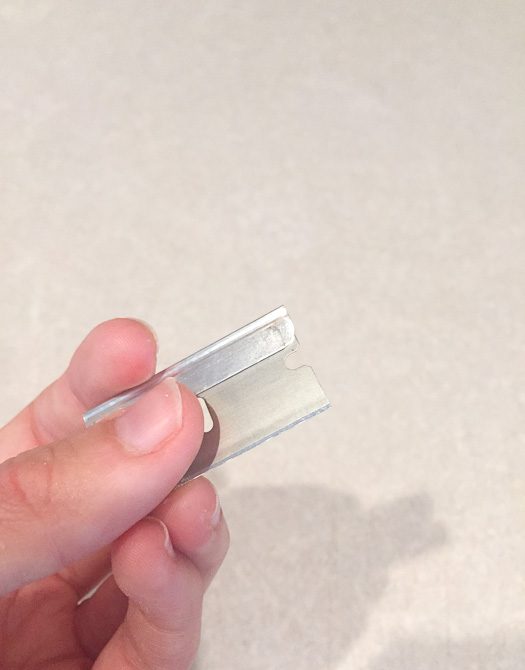
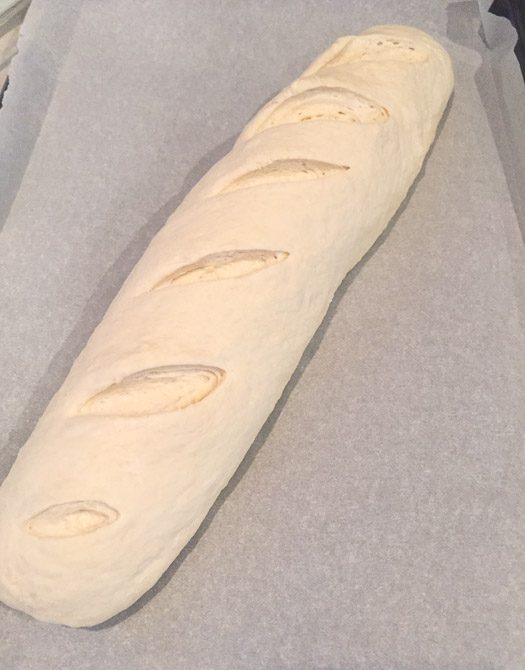
The trick to scoring bread is to make quick, deliberate cuts that aren’t too shallow or too deep. The direction of the scores can be done in a variety of ways, but I like to do them diagonally.
To do diagonal scores, it helps to score more along the length of the bread than across it. This way your cuts will be longer and allow for more expansion than if you just cut straight diagonal at a 45 degree angle.
Step Four: Proofing the dough
Proofing is when we let the shaped bread dough rest and expand to about 90% of the final size. Generally, you’ll want to let the dough proof until it has grown to almost double, but not quite.
I proof my dough by placing it in an empty cupboard. I like to microwave a cup of water for a minute and put it in with the dough, to give moisture and warmth to the air. This helps maximize the proofing time and keeps the surface of the dough from drying out too soon.
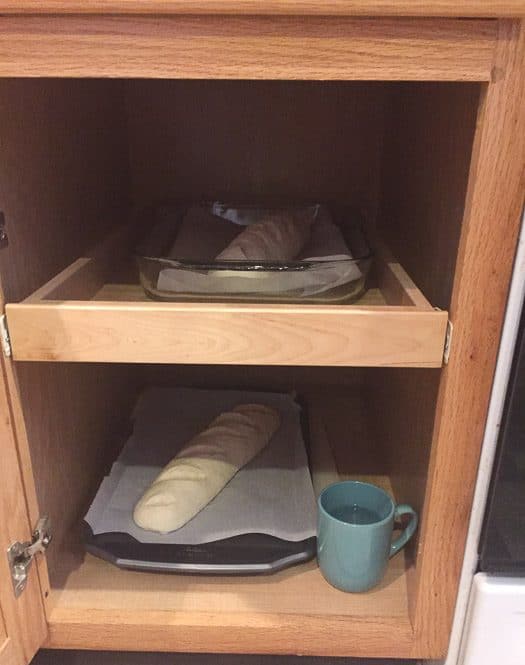
Proofing generally takes between 20 minutes to an hour. It depends on how active your yeast is, so check on your loafs after about 15 minutes and see how they’re doing.
After 15 minutes, my dough was almost at it’s full size and it was time to turn on the oven.
Step Five: Glazing & Baking
Once you’ve let the dough proof and expand to nearly double it’s size (again, it always helps to take a before picture if you’re not sure), it’s time to get the oven fired up!
Heat the oven to 425 degrees Fahrenheit.
In the meantime, to help make a tastier crust, you can add a glaze. The glaze is just 1 tablespoon of melted vegan butter mixed with 2 tablespoons of plant based milk. You could also use olive oil. You’ll need a pastry brush to apply your glaze to the entire surface (but not the bottom) of the proofed dough.
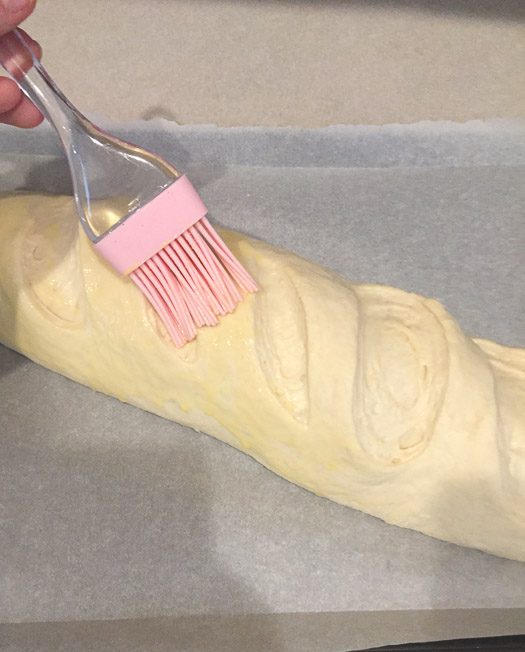
At this point you can also sprinkle on some crust toppings to your dough. Sesame seeds, poppy seeds, oats, sunflower seeds, herbs, Kosher salt, etc all make good crust toppings. Don’t be shy with them!
Step Five: Baking The Bread
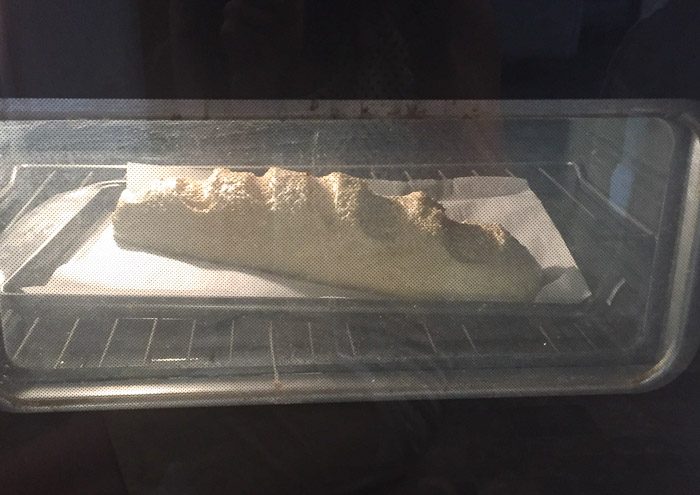
Once the oven is ready, carefully place your pan of bread into the middle rack of the oven and close the door. You can set a timer for about 15 minutes.
Keep monitoring the baking progress through your oven door. The dough will expand about 5% more in the oven.
You should let the crust become a nice golden brown color, but if it starts getting too dark on the top or one side, it’s not a bad idea to turn the pan 180 degrees. Oven often are hotter in the back than they are towards the front, so turning your loaf can help it cook more evenly.
Once you think it’s done, you can check its done-ness by tapping on the top of the crust. If it sounds hollow-y it’s done!
At this point, it’s a good idea to leave the bread in the oven and let it cool off in there, while keeping the door propped open to let the cool air escape.
Cooling the bread this way actually helps draw out some of the excess moisture from the inside of the loaf, resulting in a better structure.
It’s always better to wait until bread has cooled off completely before you cut into it, but warm bread is also lovely to eat! Once it’s been cut, you can store it wrapped up in a clean towel on the counter or in a plastic bag. Don’t put it into a plastic bag until it’s 100% cool though, otherwise the bag will trap excess moisture and your bread won’t keep as long.
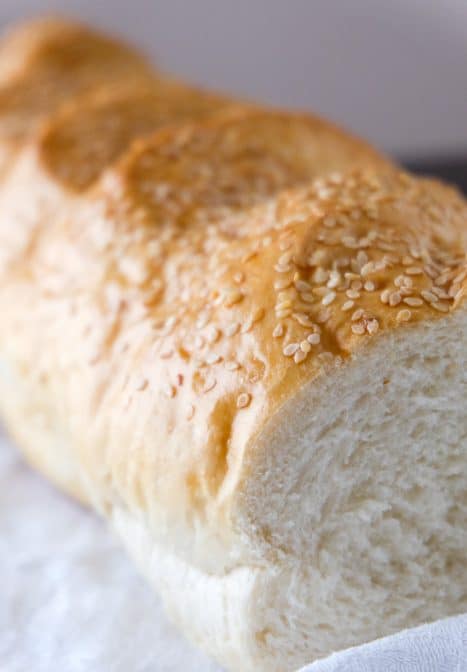
You should consume freshly-baked bread within about 3-5 days of baking it. I’ve heard that homemade bread is at it’s most delicious after 3 days, but I’ve never had bread last that long to try it out! Haha.
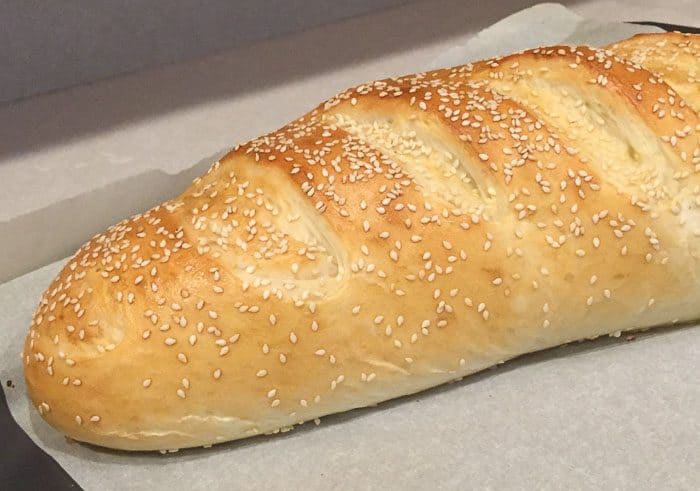
Ingredients
Yeast Mixture
- 1/2 cup warm water
- 2 Tbsp yeast
- 2 Tbsp sugar
Dough
- 2 cups warm water
- 2 Tbsp melted vegan butter
- 2 tsp salt
- 6-7 cups flour
Glaze (Optional)
- 1 Tbsp vegan butter melted
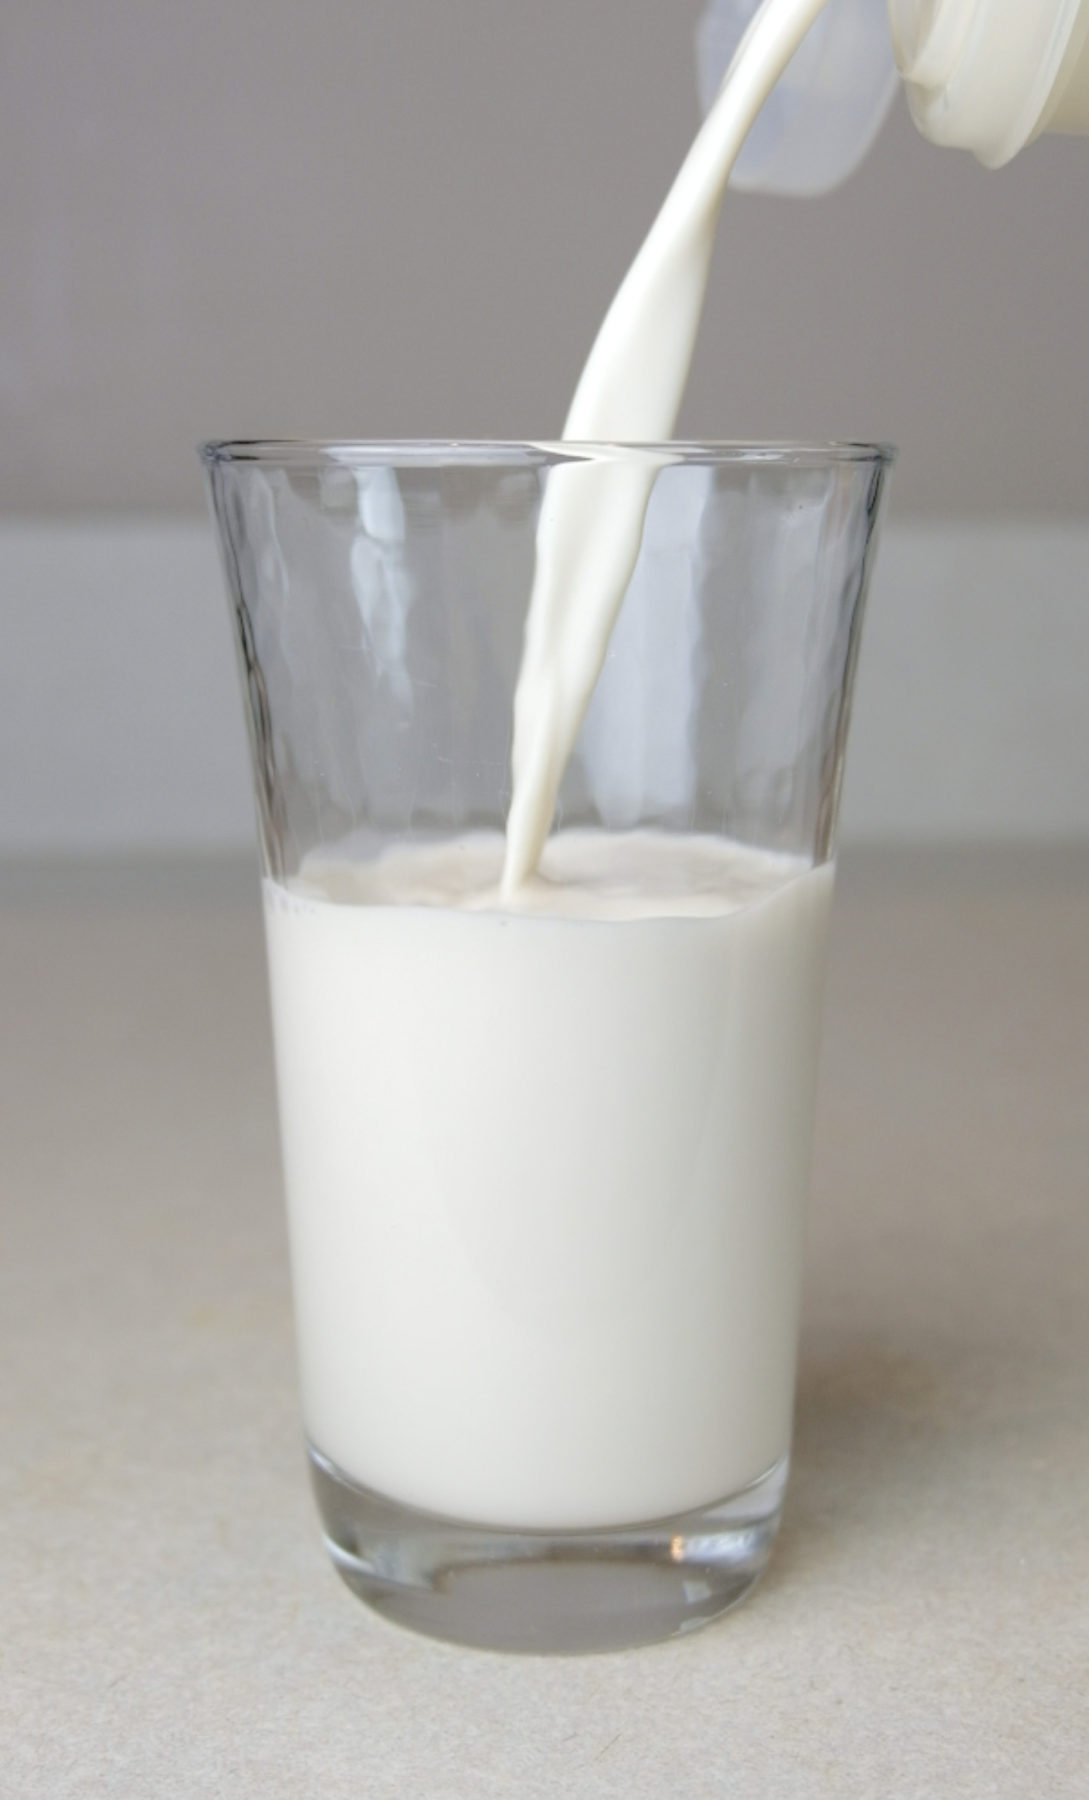
- 2 Tbsp plain unsweetened soy milk other plant based milk ok
Instructions
- Combine the yeast mixture ingredients and mix thoroughly. Allow to rest about 10 minutes.
- Add all the other ingredients for the dough and mix until a moist dough is formed. Cover and let rest until dough has doubled in size, about 15-45 minutes.
- Punch down dough and knead for about 5 minutes on floured surface. Divide into two equal sized pieces. Roll each piece into a rectangle about 1/4 inch thick. Roll starting from the short side and tuck the edges under. You can use water to help them stick. Score the bread diagonally using a sharp razor.
- Allow the shaped loafs to proof in a warm, moist place until nearly doubled (about 15-45 minutes). A cupboard with a glass of hot water is a good proofing spot.
- Heat oven to 425 degrees Fahrenheit. Optionally, you can add glaze and toppings to the crust. For the glaze, mix 1 Tablespoon of melted vegan butter with 2 Tablespoons of plant based milk and coat it gently onto the surface of the bread using a pastry brush. Olive oil can be used as an alternative glaze. For toppings, simply sprinkle them on as desired.
- Bake on the middle rack until the crush is golden brown (the top may be darker) and sounds hollow when tapped with fingers, about 15-20 minutes. Turn during baking if one side seems to be browning faster.
- Allow to cool completely before cutting. Store cut bread wrapped in a clean kitchen towel or in a plastic bag. Consume within 5 days after baking.



Tried this out, my first time making bread. It turned out gorgeous and delicious and my husband said I need to make it again! We only have one little slice left after like a day so I will be making more soon.
Thanks for the great comment, glad you liked it! 🙂